Create a Kubernetes cluster
- On the Container Service page, click the Clusters tab.
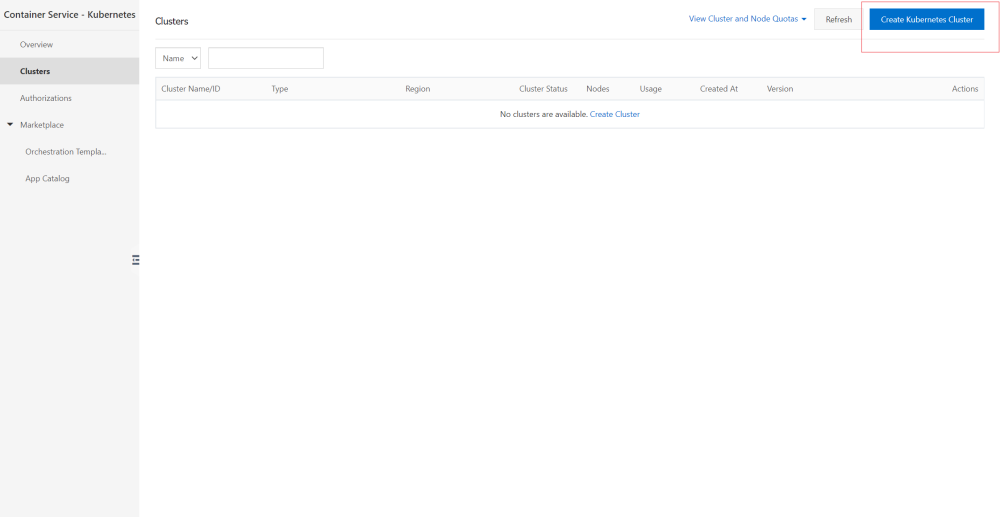
- On the Clusters page, click the Create Kubernetes Cluster button.
- On the Create Kubernetes Cluster page, configure the following parameters.
| Parameter | Description |
|---|---|
| Cluster Name | Enter a name for the cluster. The name must be 1 to 63 characters in length and can contain digits, letters, and hyphens (-). |
| VPC | Select the region where you want to deploy the cluster. |
| Region | You can select a VPC from the drop-down list. If the specified VPC has a NAT gateway, Container Service uses this NAT gateway. If the VPC does not have a NAT gateway, the system automatically creates one. If you do not want the system to create a NAT gateway, clear Configure SNAT for or VPC. |
| vSwitch | Select vSwitches. You can select up to three vSwitches that are deployed in different zones. |
| Kubernetes Version | Show Kubernetes Version. |
| Container Runtime | You can select Docker or Sandboxed-Container. |
| Master Configurations | Set the Instance Type and System Disk parameters: ● Master Node Quantity: You can add up to three master nodes. ● Instance Type: You can select multiple instance types. For more information, see Instance families and instance types in the ECS documentation. ● System Disk: SSD Disk and Ultra Disk are supported. |
| Worker Instance | You can select Create Instance or Add Existing Instance. |
| Worker Configurations | If Worker Instance is set to Create Instance, set the following parameters: ● Instance Type: You can select multiple instance types. ● Selected Types: The selected instance types are displayed. ● Quantity: Set the number of worker nodes. ● System Disk: SSD Disk and Ultra Disk are supported. ● Mount Data Disk: SSD Disk and Ultra Disk are supported. |
| Operating System | The CentOS and Alibaba Cloud Linux operating systems are supported. |
| Password | Set a password that is used to log on to the nodes. |
| Confirm Password | Enter the password again. |
| Network Plug-in | Flannel and Terway are supported. By default, Flannel is selected. |
| Pod CIDR Block and Service CIDR | For more information, see Network Planning in the VPC User Guide. |
| Configure SNAT | This parameter is optional. If you clear Configure SNAT for VPC, you must create a NAT gateway or configure SNAT rules for the VPC. |
| Access to the Internet | Specify whether to expose the API server with an elastic IP address (EIP). The Kubernetes API server provides multiple HTTP-based RESTful APIs that can be used to create, delete, modify, query, and watch resource objects such as pods and Services. · If you select this check box, an EIP is created and attached to an internal-facing Server Load Balancer (SLB) instance. Port 6443 used by the API server is exposed on the master nodes. You can connect to and manage the cluster by using kubeconfig files over the Internet. · If you clear this check box, no EIP is created. You can connect to and manage the cluster by using kubeconfig files only from within the VPC. |
| Ingress | Specify whether to Install Ingress Controllers. By default, Install Ingress Controllers are selected. |
| Log Service | If you enable Log Service, you can select an existing project or create a project. If you select Enable Log Service, the Log Service plug-in is automatically installed in the cluster. If you select Create Ingress Dashboard, Ingress access logs are collected and displayed on dashboards. |
| Volume Plug-in | By default, CSI is selected. |
| Deletion Protection | If you select this check box, the cluster cannot be deleted in the console or by calling API operations. |
| Node Protection | This check box is selected by default to prevent nodes from being deleted in the console or by calling API operations. |
| Labels | Add labels to the cluster. |
Configure the advanced settings.
| Parameter | Description |
|---|---|
| IP Addresses per Node | The number of IP addresses that can be assigned to a node. |
| Custom Image | You can select a custom image. After you select a custom image, all nodes in the cluster are deployed by using this image. |
| Kube -proxy Mode | iptables and IPVS are supported. ● iptables is a mature and stable kube-proxy mode. It uses iptables rules to conduct service discovery and load balancing. The performance of this mode is restricted by the size of the Kubernetes cluster. This mode is suitable for Kubernetes clusters that manage a small number of Services. ● IPVS is a high-performance kube-proxy mode. It uses Linux Virtual Server (LVS) to conduct service discovery and load balancing. This mode is suitable for clusters that manage a large number of Services. We recommend that you use this mode in scenarios where high-performance load balancing is required. |
| Node Port Range | Specify the value of the Node Port Range. |
| Taints | Add taints to all worker nodes in the cluster. |
| Cluster Domain | The default domain name of the cluster is cluster local. You can specify a custom domain name. |
| Cluster CA | Specify whether to enable the cluster certification authority (CA) certificate. |
| User Data | Customize the startup behaviors of ECS instances and import data to the ECS instances. The user data can be used to perform the following operations: Run scripts during instance startup. Pass user data as common data into an ECS instance for future reference. |
- On the Cluster page, click the Create Cluster button.
- On the Confirm page, verify the items.
- On the Confirm page, click the terms of service and disclaimer.
- On the Confirm page, click the OK button to start the deployment.
- After the cluster is created, review the cluster on the Clusters page in the console.