Create an IPsec-VPN connection
Overview
This topic describes how to create an IPsec-VPN connection. After you create a VPN gateway and a customer gateway, you can create an IPsec-VPN connection between the two gateways to encrypt data transmission.
Prerequisites
The IPsec-VPN feature is enabled when you create a VPN gateway. For more information, see Create a VPN Gateway.
Procedure
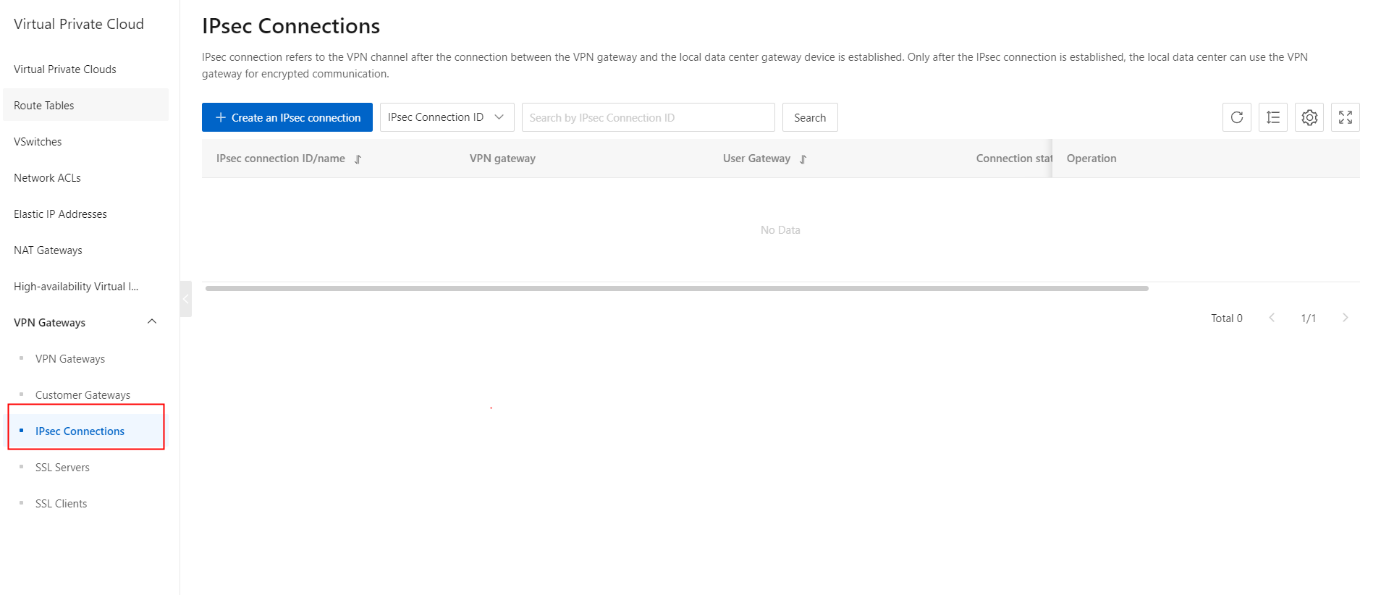
- On the VPN Gateways page, click the IPsec Connections tab.
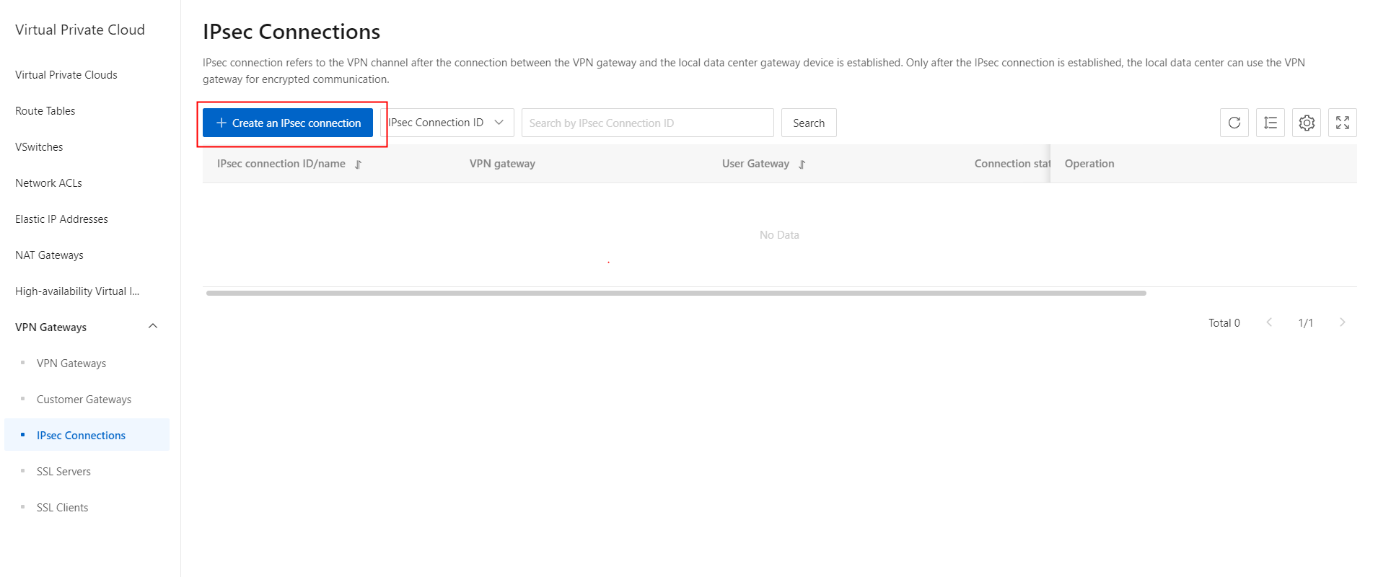
- On the IPsec Connections page, click the Create an IPsec Connection button.
- On the Create IPsec Connection page, configure the IPsec connection based on the following information.
| Parameter | Description |
|---|---|
| Organization | Select the organization to which the IPsec-VPN connection belongs. |
| Resource Set | Select the resource set to which the IPsec-VPN connection belongs. |
| Region | Select the region to which the IPsec-VPN connection belongs. Note Make sure that the IPsec-VPN connection and the VPN gateway to be connected are deployed in the same region. |
| Zone | Select the zone to which the IPsec-VPN connection belongs. |
| Name | Enter a name for the IPsec-VPN connection. The name must be 2 to 100 characters in length, and can contain digits, underscores (_), and hyphens (-). It must start with a letter. |
| VPN Gateway | Select the VPN gateway to be connected through the IPsec-VPN connection. |
| Customer Gateway | Select the customer gateway to be connected through the IPsec-VPN connection. |
| Local CIDR Block | Enter the CIDR block on the virtual private cloud (VPC) side. The CIDR block is used in Phase 2 negotiations. If you use IKEv2, you can specify multiple local CIDR blocks . Separate CIDR blocks with commas (,). |
| Peer CIDR Block | Enter the CIDR block on the data center side. This CIDR block is used in Phase 2 negotiations. If you use IKEv2, you can specify multiple peer CIDR blocks . Separate CIDR blocks with commas (,). |
| Effective Immediately | Specify whether to immediately start negotiations for the connection. ● Yes : starts negotiations after the configuration is complete. ● No (default): starts negotiations when inbound traffic is detected. |
| Advanced Settings | Select the type of advanced settings. Default : Use the default advanced settings. Configure : Use custom settings. |
| Pre-shared Key | Enter the pre-shared key used for authentication between the VPN gateway and the customer gateway. You can specify a key, or use the key that is randomly generated by the system. By default, the system generates a 16-character string. To establish an IPsec- VPN connection, you must use the same key for the local side and the peer's side. |
| Version | Select an IKE version. ● ikev1 (default) ● ikev2 IKEv1 and IKEv2 are supported. Compared with IKEv1, IKEv2 simplifies the security association (SA) negotiation process and provides better support for scenarios in which multiple CIDR blocks are used. We recommend that you select IKEv2. |
| Negotiation Mode | Select a negotiation mode. main (default): This mode offers higher security during negotiations . Aggressive : This mode is faster and has a higher success rate. Connections negotiated in both modes ensure the same security level of data transmission. |
| Encryption Algorithm | Select the encryption algorithm that is used in Phase 1 negotiations . Supported algorithms are aes (default), aes192 , aes256 , des , and 3des. |
| Authentication Algorithm | Select the authentication algorithm that is used in Phase 1 negotiations. Valid values: sha1 and md5 (default). |
| DH Group | Select the DH key exchange algorithm that is used in Phase 1 negotiations. ● group1 : DH group 1 ● group2 : DH group 2 (default) ● group5 : DH group 5 ● group14 : DH group 14 |
| SA Life Cycle(Seconds) | Specify the SA lifecycle after Phase 1 negotiations succeed. Valid values: 0 to 86400. Unit : seconds . Default value: 86400. |
| LocalId | Specify the identifier of the VPN gateway. The identifier is used in Phase 1 negotiations. The default value is the public IP address of the VPN gateway. If you set LocalId to a value in the fully qualified domain name (FQDN) format, we recommend that you set Negotiation Mode to aggressive. |
| RemoteId | Specify the identifier of the customer gateway. The identifier is used in Phase 1 negotiations. The default value is the public IP address of the customer gateway. If you set RemoteId to a value in the FQDN format, we recommend that you set Negotiation Mode to aggressive. |
| Encryption Algorithm | Select the encryption algorithm that is used in Phase 2 negotiations. Supported algorithms are aes (default), aes192 , aes256 , des , and 3des. |
| Authentication Algorithm | Select the authentication algorithm that is used in Phase 2 negotiations. Valid values: sha1 and md5 (default). |
| DH Group | Select the DH key exchange algorithm that is used in Phase 2 negotiations . disabled : does not use a DH key exchange algorithm. For clients that do not support perfect forward secrecy (PFS), select disabled. If you select a value other than disabled , the PFS feature is enabled by default, which requires a key update for every renegotiation. Therefore, you must also enable PFS for the client. ● group1 : DH group 1 ● group2 : DH group 2 (default) ● group5 : DH group 5 ● group14 : DH group 14 |
| SA Life Cycle(Seconds) | Specify the SA lifecycle after Phase 2 negotiations succeed. Valid values: 0 to 86400. Unit : seconds . Default value: 86400. |
- On the Create IPsec Connection page, click the Submit button.
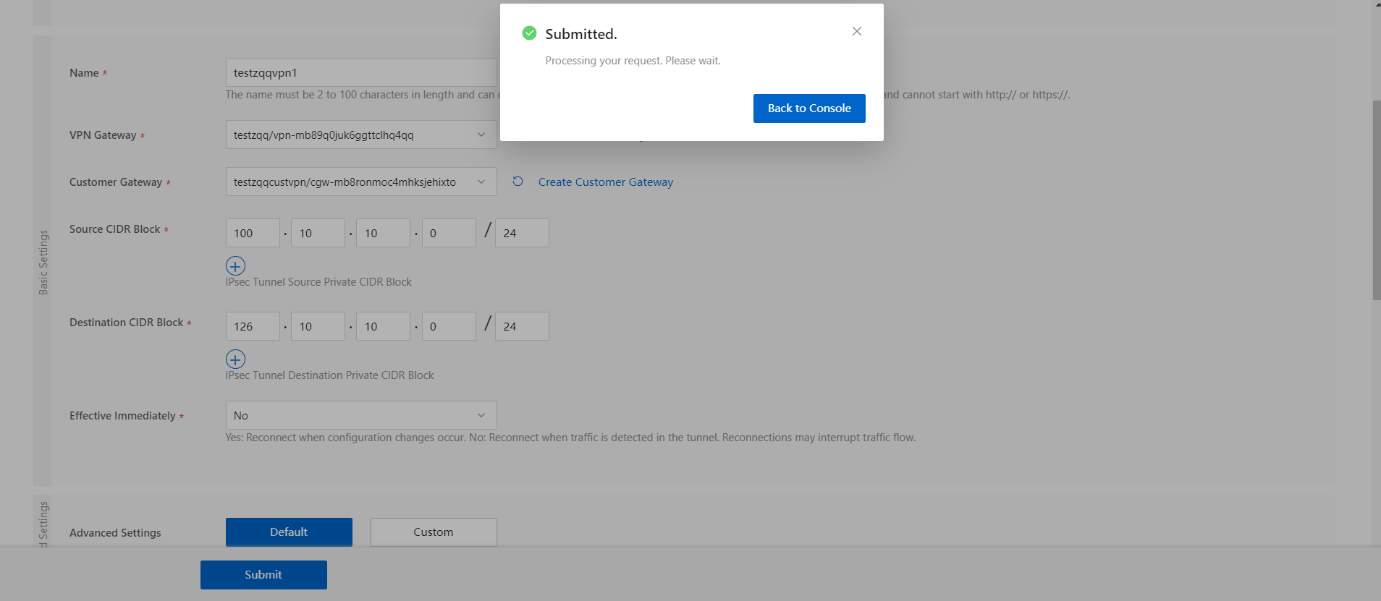
- Once the IPsec Connection is successfully created, its IPsec Connection has been updated as shown.
