Add on-premises servers to a primary/secondary server group
Overview
This topic describes how to create a primary/secondary server group and then add on-premises servers to the primary/secondary server group. A primary/secondary server group contains a primary server and a secondary server that can fail over to prevent service interruption. By default, the primary server receives all requests that are distributed by a Server Load Balancer (SLB) instance. When the primary server fails, requests are redirected to the secondary server.
Prerequisites
Applications are deployed on the on-premises servers, and the servers are ready to receive requests.
Procedure
- On the Instances page, click the instance.
- On the Instances Management page, click the Primary/Secondary Server Groups tab.
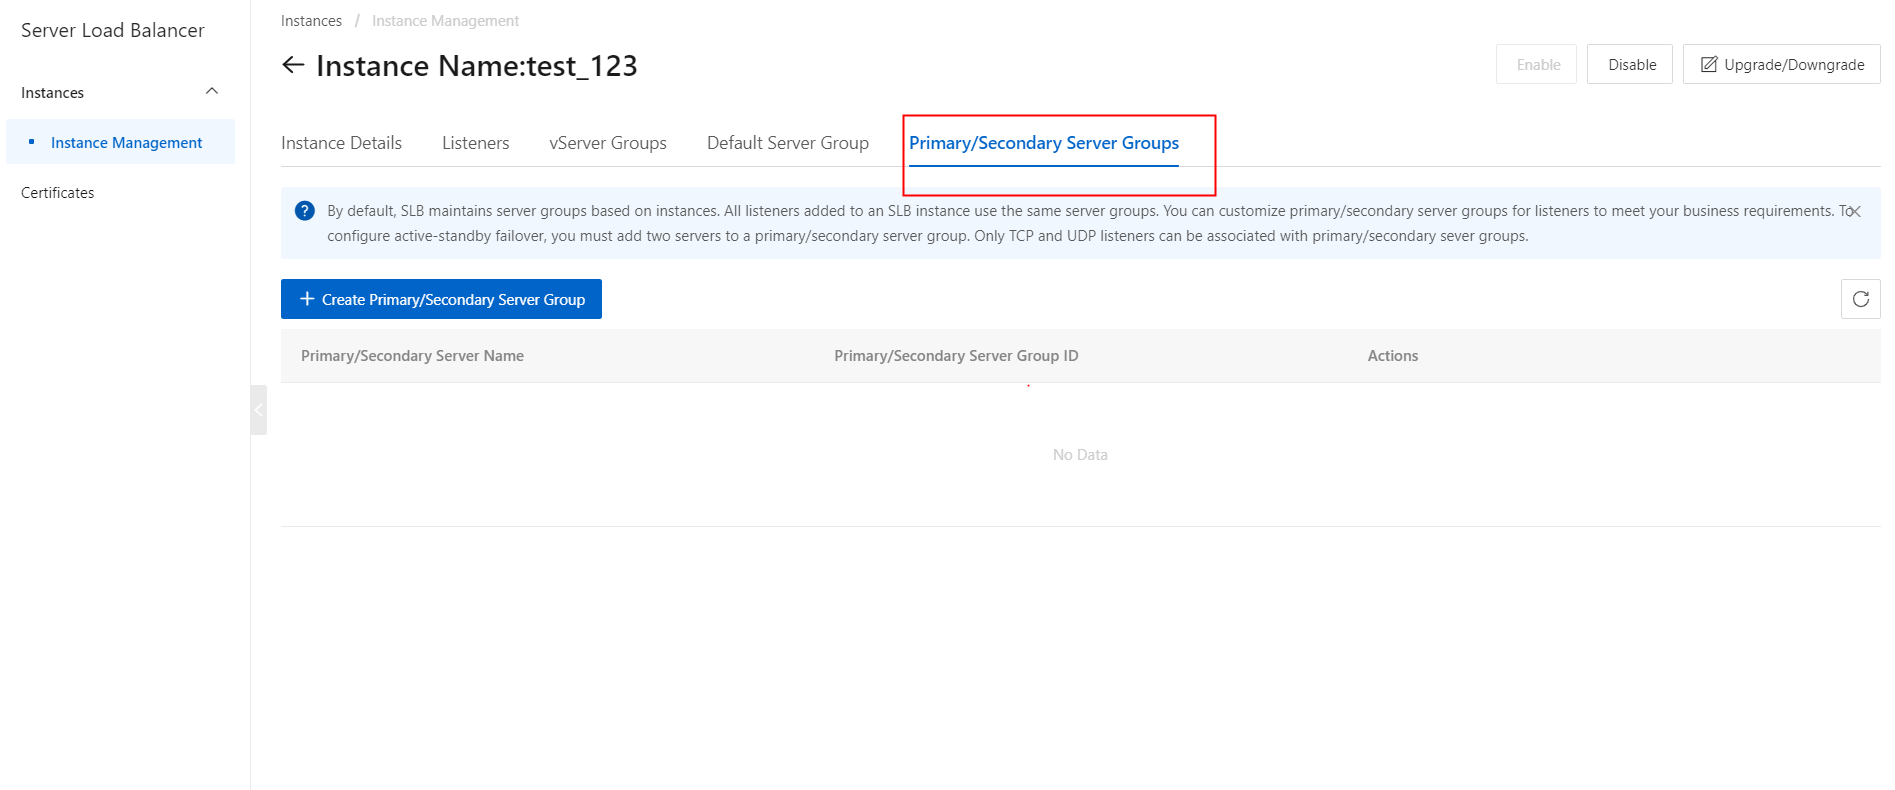
- On the Primary/Secondary Server Groups section, click the Create Primary/Secondary Server Group button.
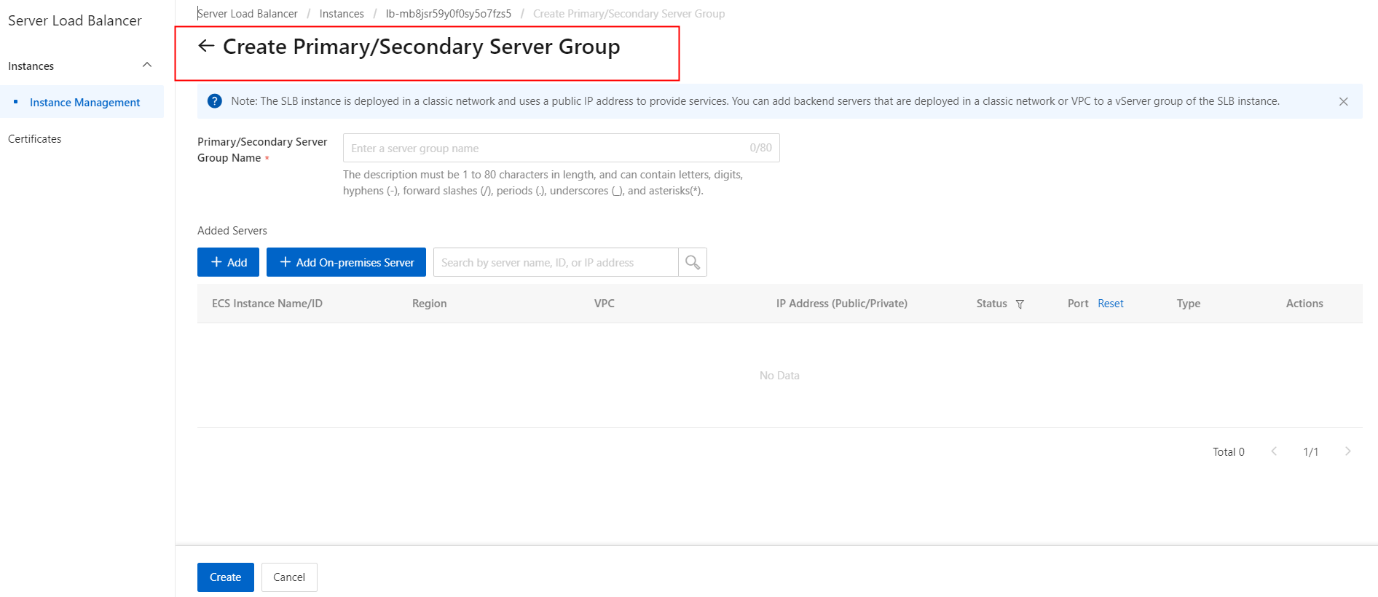
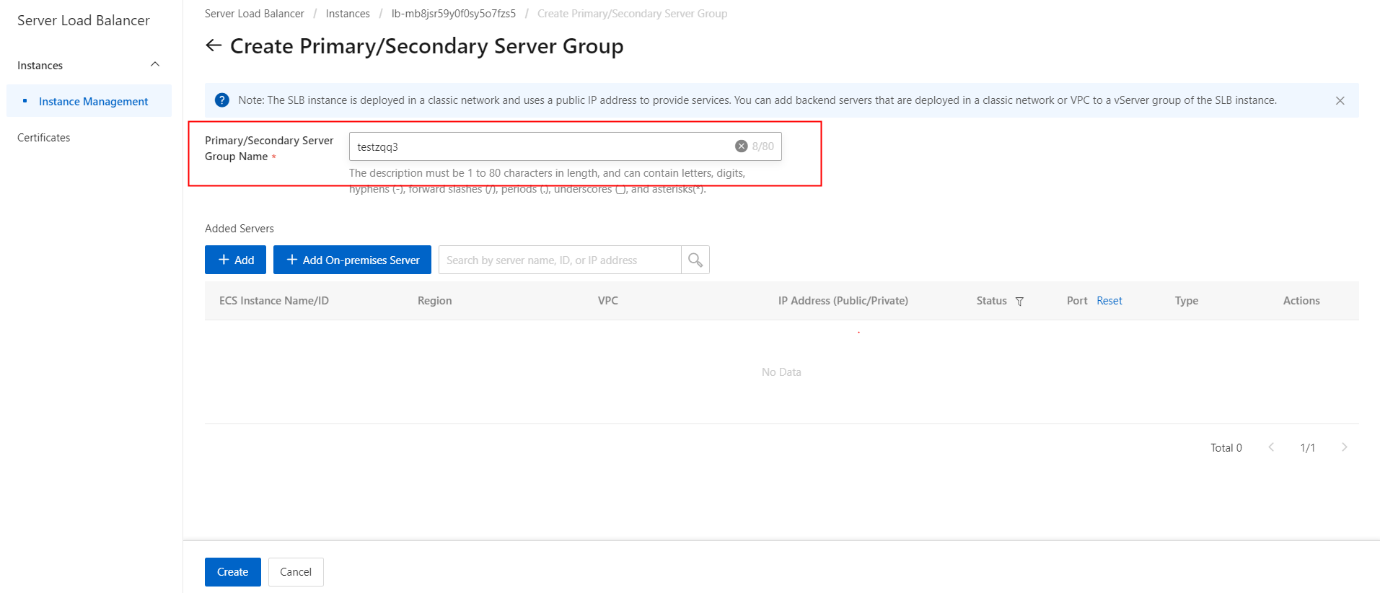
- On the Create Primary/Secondary Server Group section, configure the primary/secondary server group name.
- On the Create Primary/Secondary Server Group section, click the Add On-premises Server button.
- On the Select Servers section, click the Add button.
Note: You can add only two on-premises servers to a primary/secondary server group.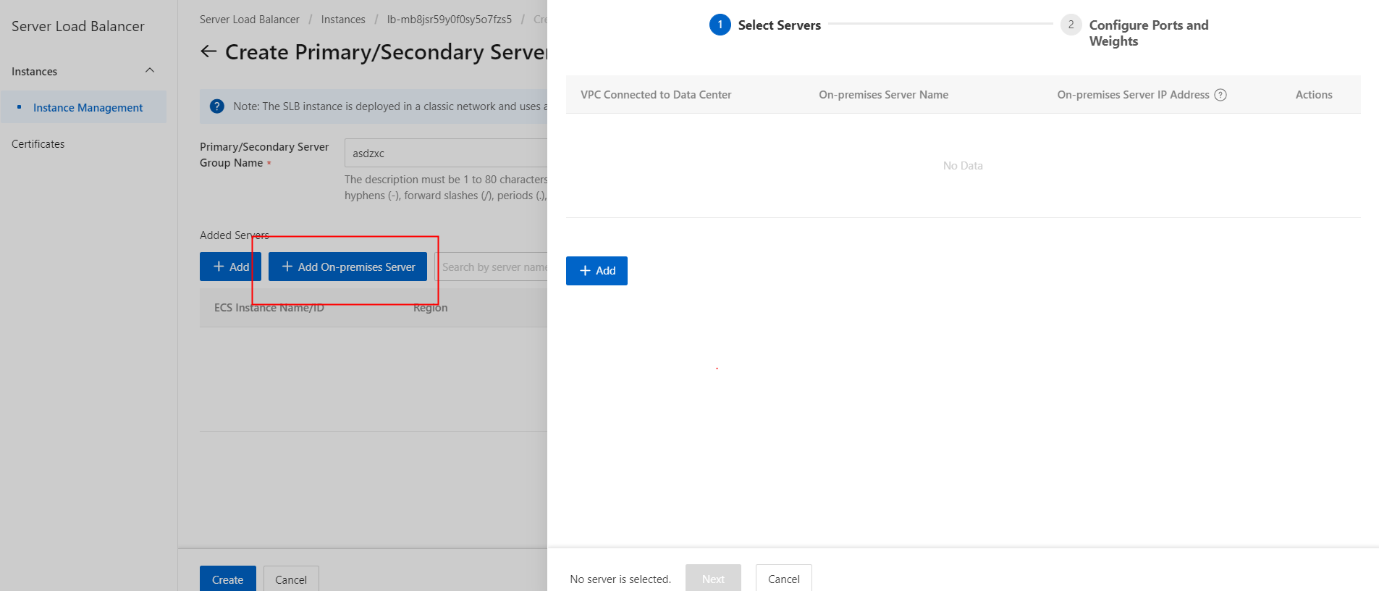
- On the Select Servers section, click the Add button.
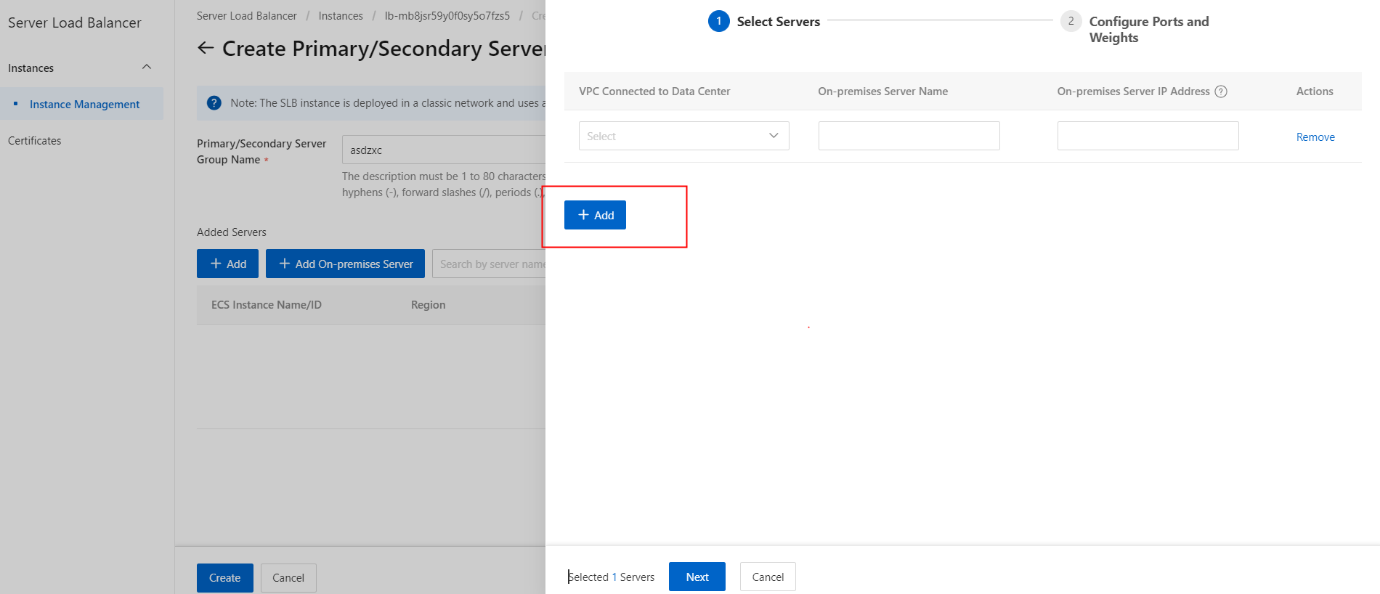
- On the Select Servers section, select a virtual private cloud (VPC) from the VPC Connected to IDC drop-down list.
- On the Select Servers section, enter a name for the on-premises server that you want to add.
- On the Select Servers section, specify the IP address of the server.
Note: The on-premises server must use the specified IP address to communicate with the VPC.
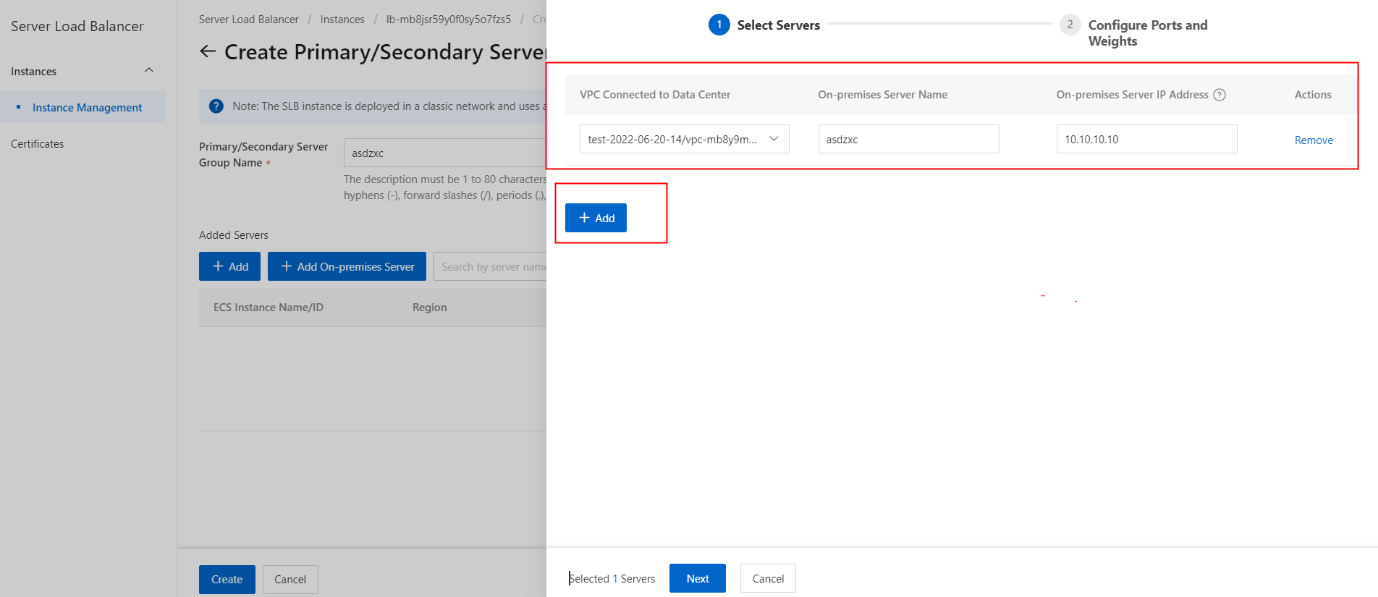
- On the Select Servers section, click the Next button.
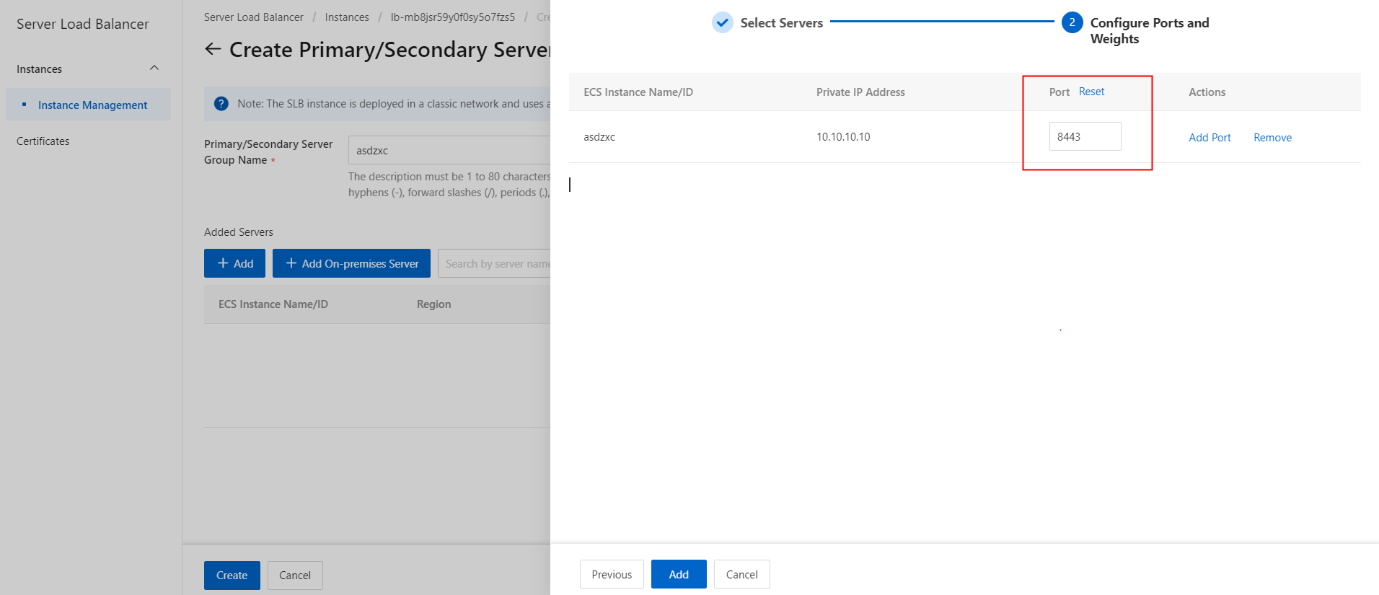
- On the Configure Ports and Weights section, configure the backend port opened on each on-premises server to receive requests.
- On the Configure Ports and Weights section, click the Add button.
Note: You can set multiple ports for an on-premises server.
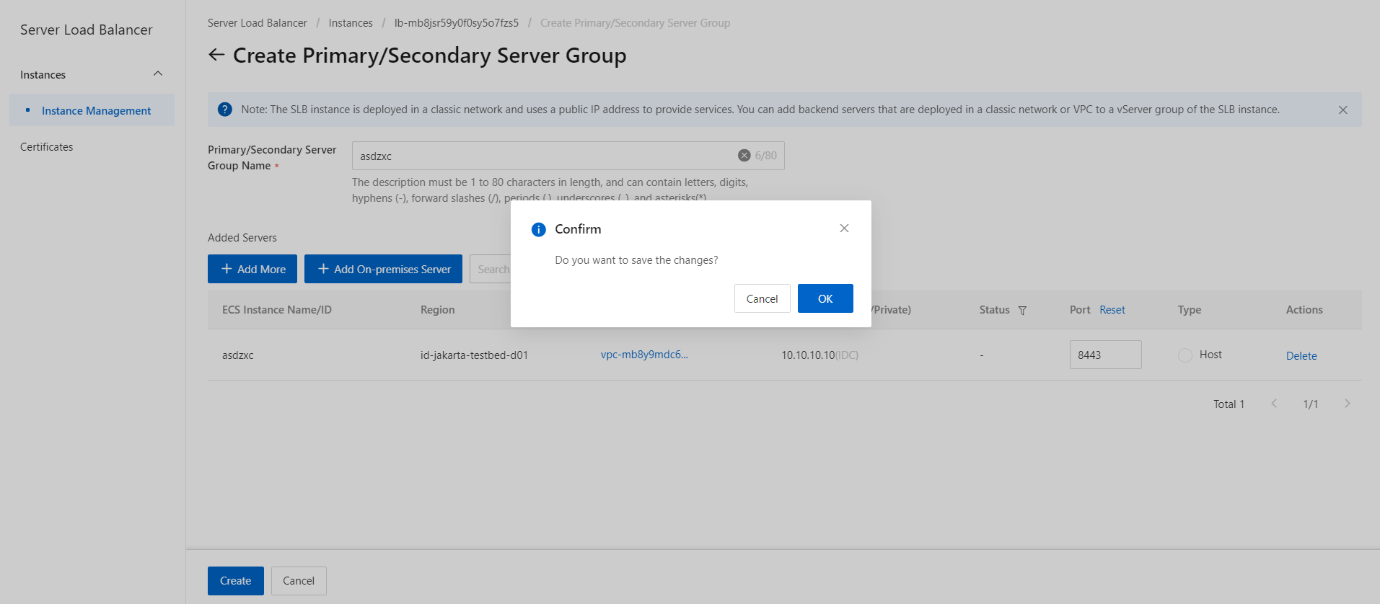
- On the Create Primary/Secondary Server Group section, click the Create button.

- On the pop-up message, click the OK button.